
Rikumo Recipe: Autumnal Ohagi (Mochi and Red Bean Sweets)

On September 22nd, the sun will cross the Earth's celestial equator from north to south, and we will officially enter autumn. From here on out, the days will become ever shorter, sweaters will come out from retirement, and fall flavors will appear once again on our plates. One such flavor is the sweet red bean and mochi combination of ohagi.
Ohagi is a type of wagashi (traditional Japanese sweet), that is often eaten during the celebration of higan. Higan is a Buddhist holiday that is celebrated around both the vernal and autumnal equinoxes. During these holidays people pay respect to their ancestors by visiting their graves, cleaning them, and lighting incense as an offering. Ohagi and botamochi (which are eaten during the spring equinox and are exactly the same as ohagi except for the name) are an added bonus to help ring in the season. These treats are made from mochi (sticky glutinous rice) and anko (sweet red bean paste) which is formed into a ball and is sometimes coated with toppings.
These slightly sweet and chewy balls are deceptively easy to make and are essentially a combination of two common recipes that are the starting point for a wide range of dishes. For that reason, you can look at this as a two-in-one recipe (anko and mochi). In the spirit of the season, we prepared our favorite ohagi recipe and documented it to share with you.
A note on rice - This recipe requires two types of rice. The first is called hakumai and is the most common type you’ll find. It is a short grain rice that is somewhat sticky when cooked. The other rice is called mochigome and may be a bit more difficult to find. It is sometimes labeled “glutinous rice” or “sweet rice”. Mochigome grains are rounder in appearance and are much stickier when cooked.

White rice (or hakumai) from Kobe.
Ingredients
3/4 Cup “Hakumai” Japanese White Rice
3/4 Cup “Mochigome” Mochi Sticky Rice
For the Anko
450g (roughly 3 cups) Dry Adzuki Beans
3/4 Cup Sugar
For the Toppings (optional)
Kinako (soybean flour) - This may need to be purchased in a specialty grocery store.
Black Sesame Seeds
Culinary Grade Matcha or Cooking Sencha
Pinch of salt
Optional: Pretty leaves to put them on
Materials
Rice Cooker
Colander
Scale (optional)

Grains of mochigome. Note the round shape.
Preparing the Anko:

Lightly submerge the beans so they don’t roll when they boil.

The beans are done when they easily mash when squeezed.
Add adzuki beans to a large saucepan. Cover with water and bring to a boil.
Once boiling, remove from heat and drain. This helps to remove starches and impurities and gives the finished anko a slightly less bitter flavor.
Put the beans back in the saucepan and cover with around 1” of water.
Gently simmer until the beans are tender (timing varies based on the freshness of the beans used). Add water to make up for any evaporation.
Check regularly to ensure the beans are cooked through while spooning away any foam. They are done when they can be easily crushed between your fingers.
Once cooked through, gently mash beans with a spoon or potato masher being careful not to over-mash.
Note - There are several styles of anko that are categorized by their consistency. Koshian, the most common type, is completely smooth and does not include the skins. For this recipe, we are looking to make tsubuan, which is lightly mashed and retains the skins.
Add sugar in batches and mix thoroughly. Continue to simmer until the moisture is mostly evaporated. The beans will continue to absorb water as they cool.
Set aside and let cool.

It’s important to wash rice thoroughly prior to cooking.
Preparing the Rice:
Wash both rice types thoroughly until the water runs clear.
Add to a rice cooker and cook per instructions.
Once finished, add a pinch of salt and mash until there is a good consistency. It should not be completely smooth.

Gently mash the cooked rice with a paddle or spoon.
Putting it Together:

Traditional toppings: Top left - Kinako (soybean flour), Top right - Black sesame, Bottom - Cooking matcha.
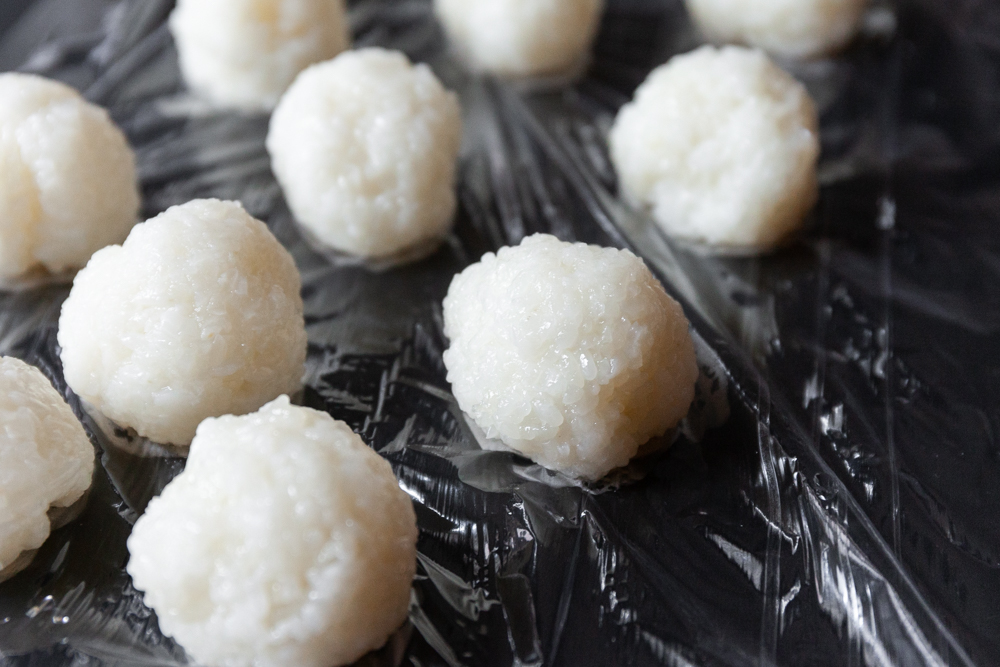
Use plastic wrap and a scale to portion out balls of anko and rice
Note - While you technically do not need to use a scale, we find it extremely helpful in ensuring that all of your ohagi are a uniform size. If you choose to use a scale, below are the ratios we like for creating 100g ohagi. There is a different ratio depending on whether you prefer your anko on the inside or outside.
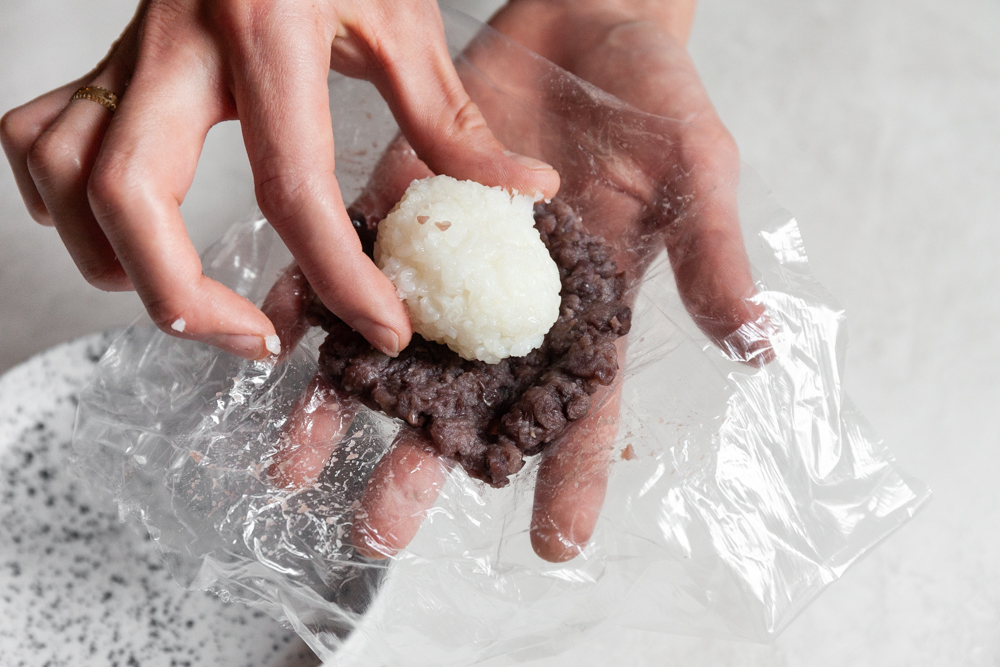
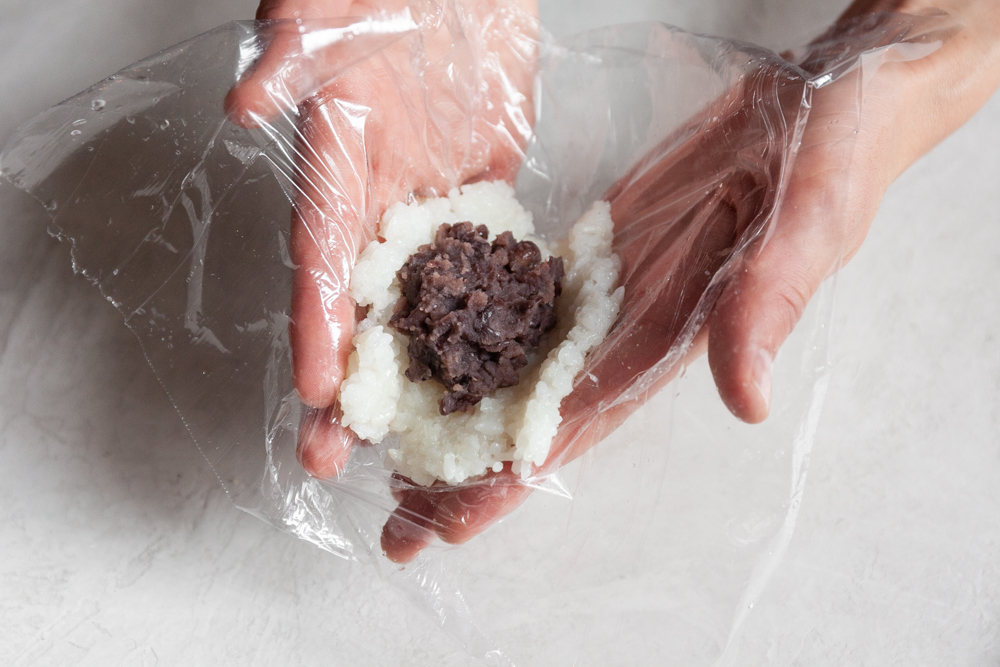
For Ohagi with the rice on the outside aim for 70g of rice on the outside and 30g anko on the inside.
For Ohagi with the anko on the outside aim for 60g of anko on the outside and 40g rice on the inside.
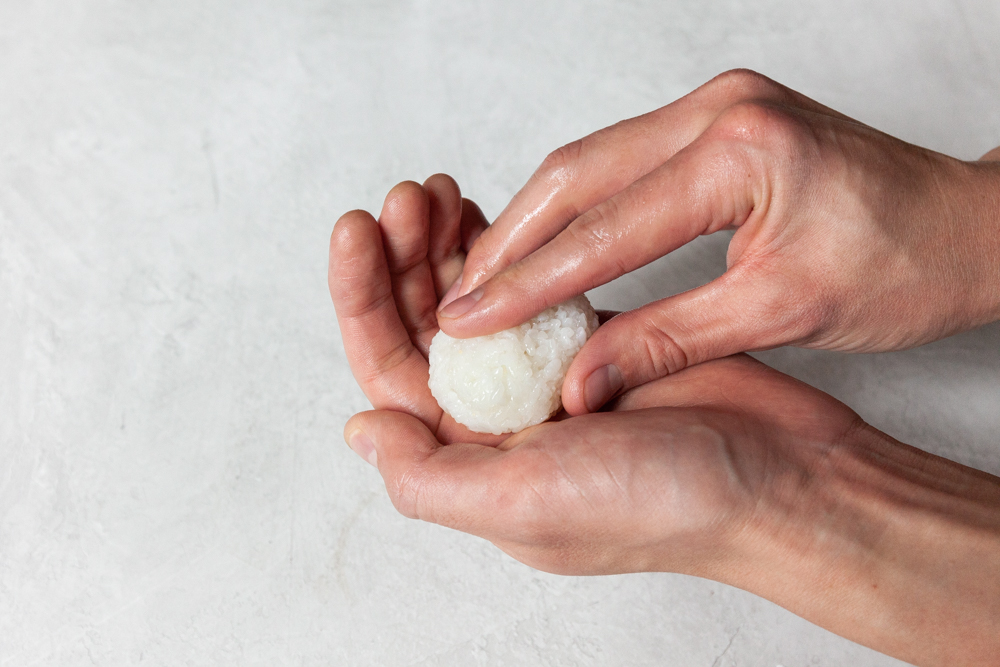
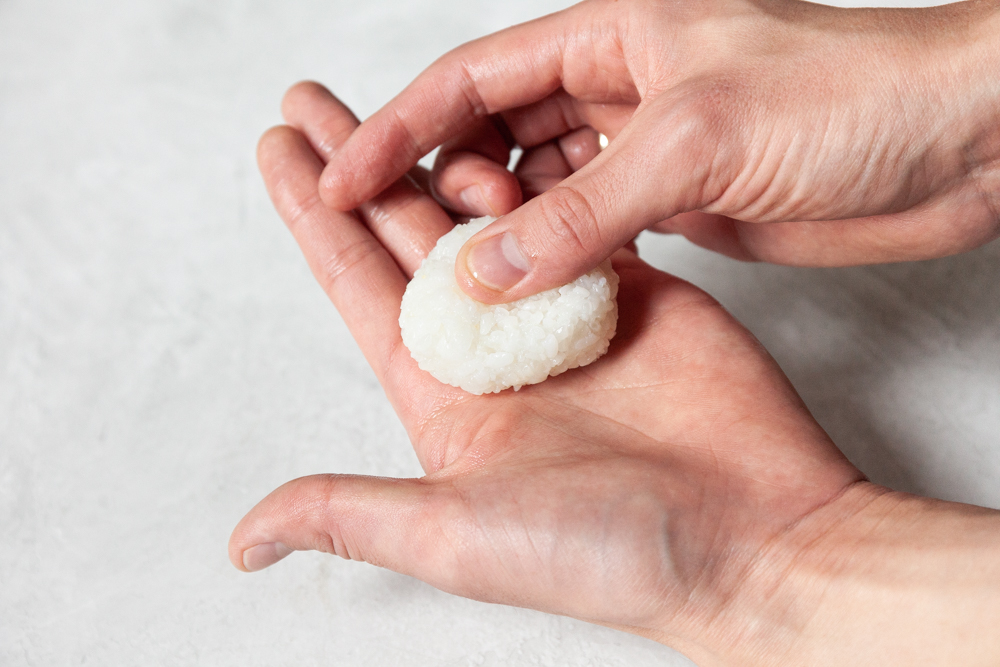
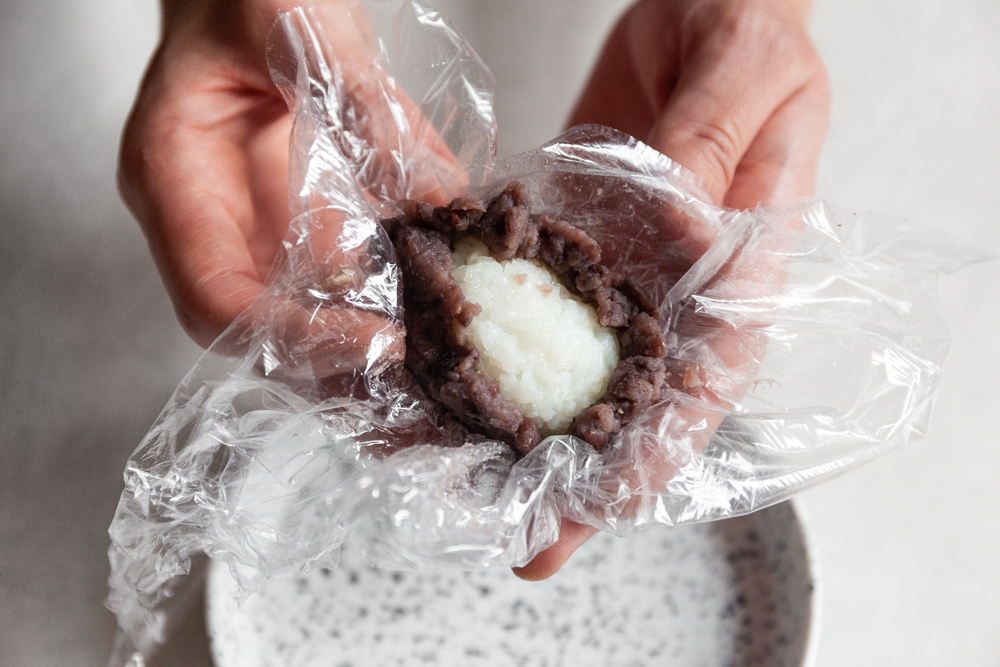
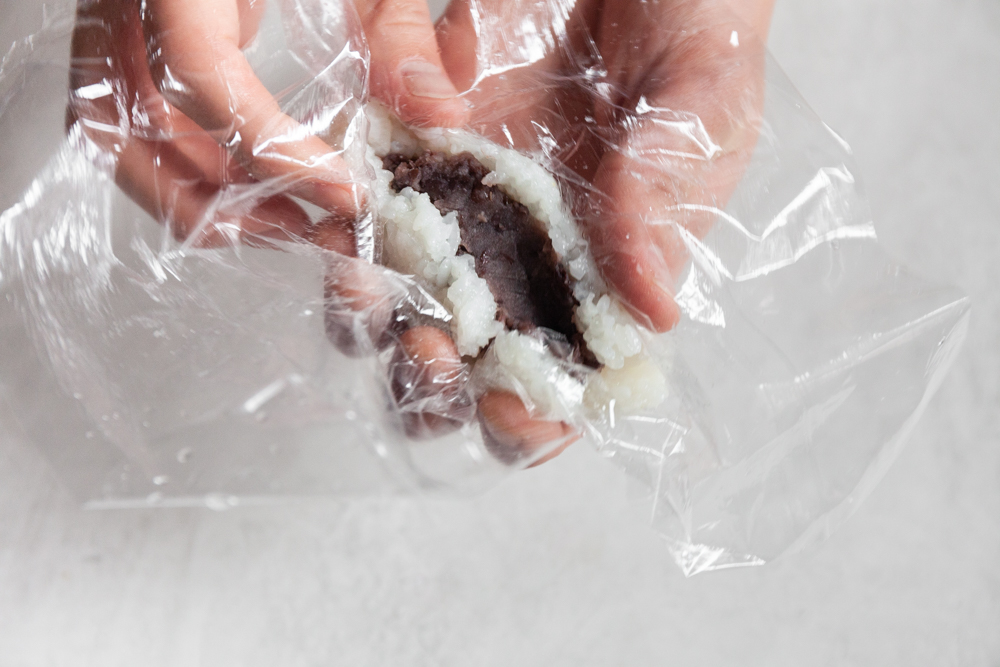
Once portioned out, recruit a friend to help you form the ohagi.
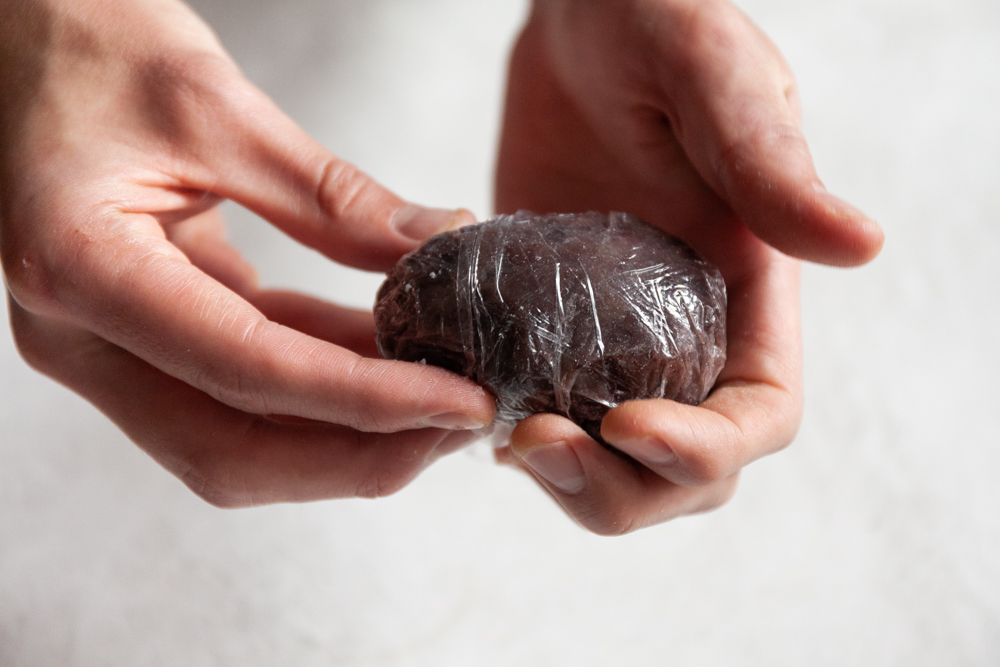
Note - We find that using plastic wrap not only prevents the rice from sticking to your hands, but it also helps in forming smooth and well-shaped ohagi.
Optional - Add desired toppings to separate trays. Lightly sweeten by adding sugar to taste. Gently roll ohagi in the toppings and cover completely.
Enjoy!


Finished ohagi ready to be enjoyed.

WORDS BY SAM GEAN