
Make: Shibori

After seeing the beautiful indigo pleats at the Kazumi Tanaka exhibit, we've been obsessed with Shibori. This Japanese method of resist dyeing involves binding, knotting, twisting and pressing fabric to achieve patterns and designs. By restricting areas the dye is able to reach, patterns are created. Dating back to the 8th century, shibori was initially popular for decorating kimonos and has recently been in the spotlight as a new home design trend. Surprisingly easy, try Shibori for your next weekend project. The endless pattern and binding combinations leave plenty of room for experimentation!
Gather your supplies:
-Dye kit (We enjoyed using this indigo kit, as it includes rubber bands, indigo dye, and wood blocks. However you can also use a Rit dye kit)
-We gathered twine, rubber bands, pebbles and wood blocks for different folding techniques
-Rubber gloves
-5 gallon plastic bucket with a lid
-A stick long enough to reach the bottom of your vat. We used a wooden branch found outside.
-Fabric to dye. Now this is the fun part–what items should you dye!? Only natural fibers will accept dye, so avoid choosing synthetics. Try dyeing fabric yardage or ready-made fabric items such as cotton shirts, canvas tote bags, duvet covers, curtains. If you’re going for the traditional shibori look, choose solid white fabric. Cotton, wool, silk, or linen work well. We pre-washed our fabrics (cotton dinner napkins) prior to dyeing.
Prepare your Indigo vat:
Preparing the vat.
1. Your indigo dye will need to sit for at least a half hour prior to dying, so it's best to do that first. Follow the dye kit instructions and set the vat aside. For this specific kit, we began by filling our vat with 4 gallons of water. After pouring the indigo dye powder in, we stirred in a circular motion. You'll notice the liquid is a yellow-green color. Indigo dye is sensitive to oxygen and turns that iconic blue hue after it oxidizes–so be sure to keep the lid on your vat, stir gently and avoid splashing or vigorously stirring the water (which introduces oxygen into the vat). Cover your vat and let it sit for at least a half hour.
Dyeing your Fabric
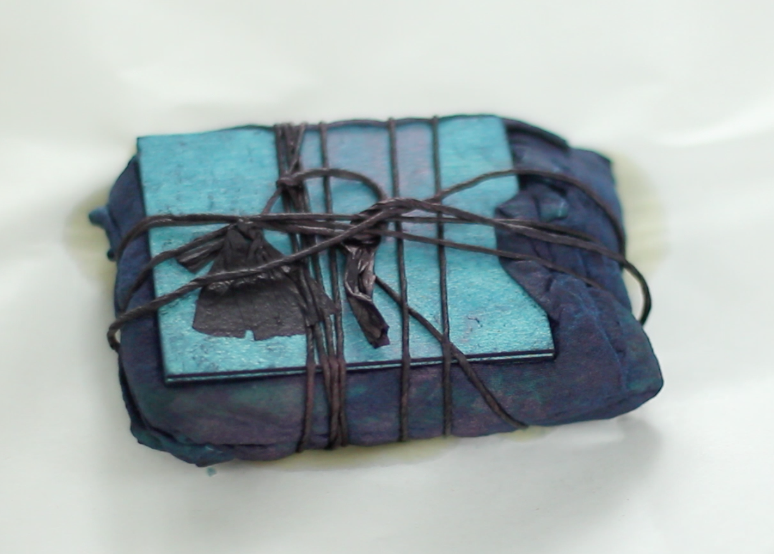
1. Fold, tie or bind your fabric with string, rubber bands, and wood boards (see our binding ideas below). The binding will prevent the dye from bleeding into the fabric, thus the more rubber bands/binding you use, the more white areas you'll see.
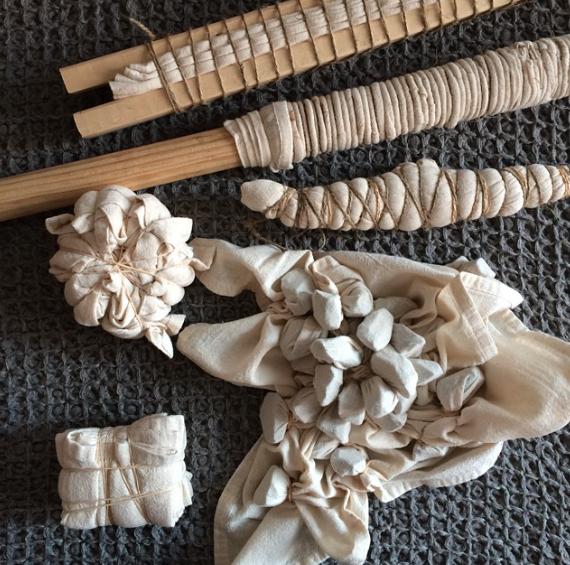
Our bound fabric pieces.
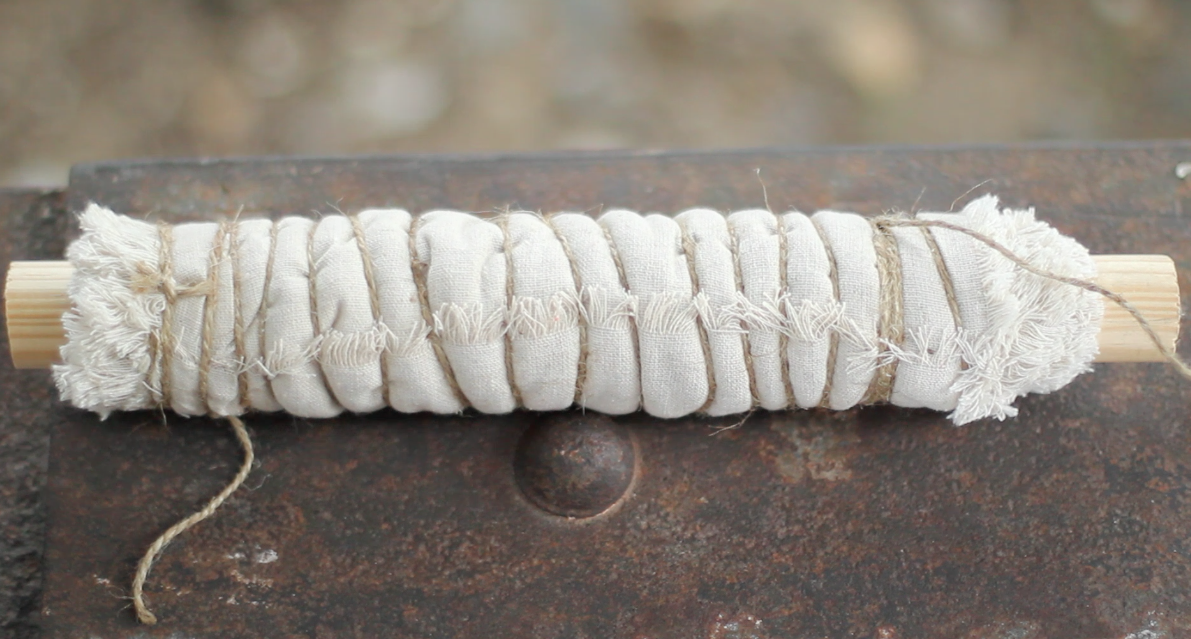
Here's an example of an Arashi (the Japanese term for “storm”) binding. By wrapping fabric around a cylinder (we used a wooden dowel) at a diagonal, you can create short, white diagonal patterns; reminiscent of a heavy rain.
2) Thoroughly saturate your bound fabric with water, then squeeze the excess water out.
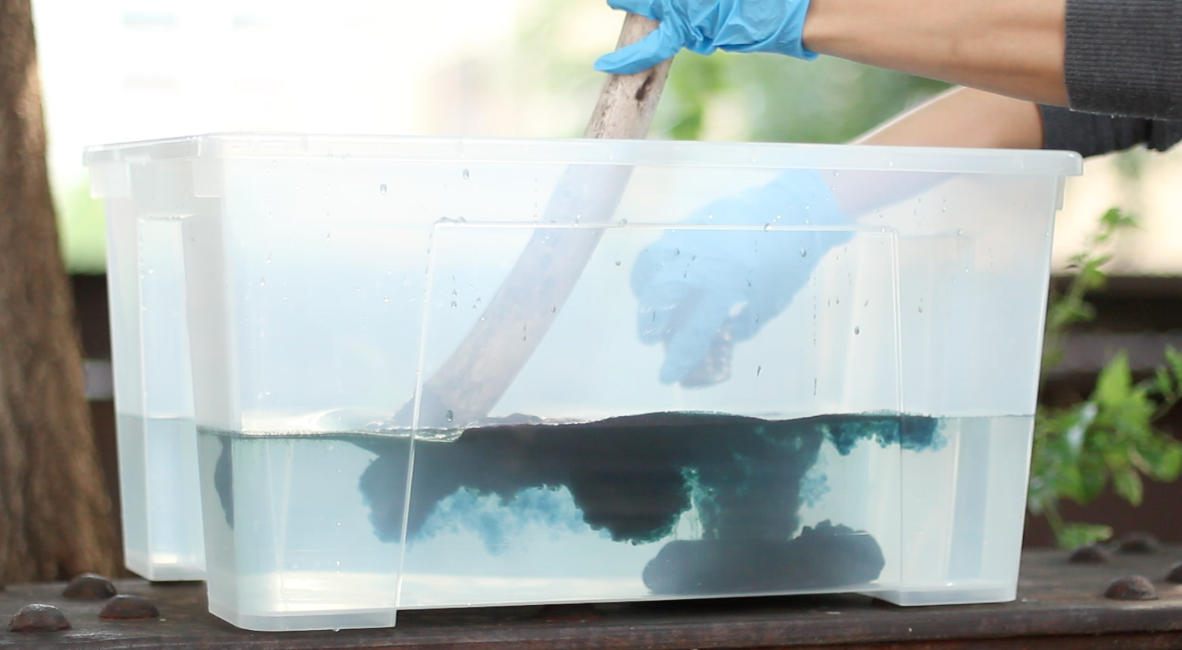
3) Remove the cover from the indigo dye vat. While wearing gloves, gently push the foam from the top of the surface. After squeezing excess water and air out of your fabric, gently submerge your piece into the dye vat. Hold the fabric under the surface, gently massaging and rotating the fabric. Avoid letting the fabric touch the sediment that's collected on the surface and the bottom of your vat. You can soak your fabric for any length of time, we found 5-10 minutes worked well.
This is our fabric piece immediately after its was removed from the vat. Notice how it hasn't oxidized yet.
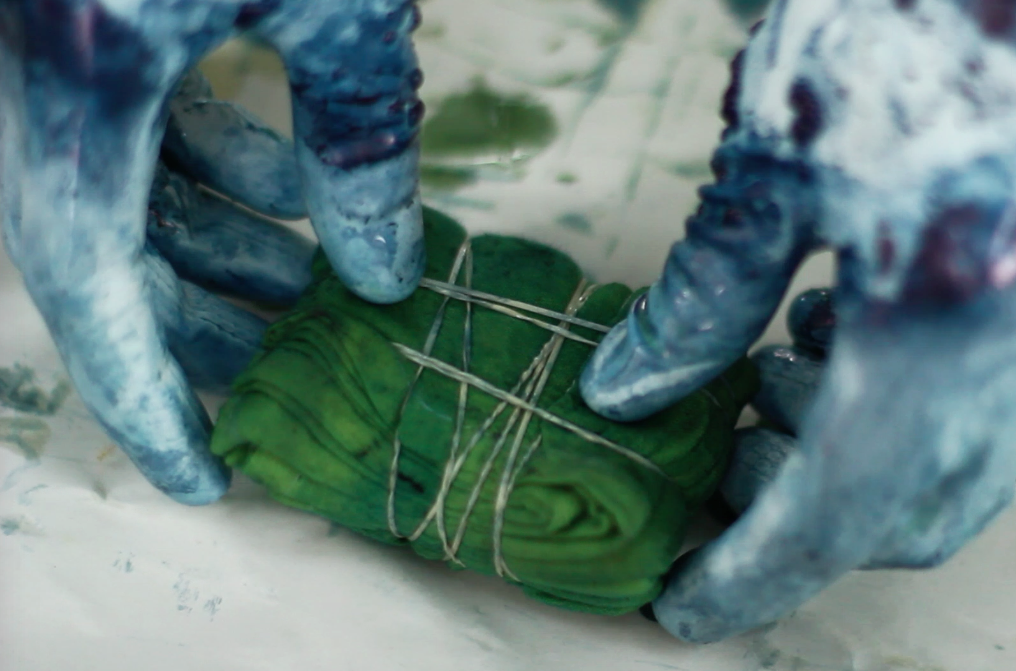
4) As you remove the fabric from your indigo vat, it will initially be a yellow-green color. As it oxidizes, it will slowly turn that unique blue hue. It could take up to 20 minutes for your piece to completely oxidize. As you remove the binding, you'll notice the white areas where the dye didn't touch the fabric. You can leave it folded while it oxidizes or unbind it. If you leave it folded, the dye will continue to bleed into the fabric and you'll have less white areas in the finished piece.

Our newly dyed, still bound fabric piece.

Removing the binding–the white areas are where the binding blocked the dye.
5) For darker shades, re-dip your fabric and repeat steps 2-4. When you're finished, place the lid back onto the indigo vat or empty down a drain. If covered, the vat will keep for about five days and you’ll be able to dye at least five pounds of fabric! After you've unwrapped all your pieces, wash them in cold water without detergent. Line dry or dry on the lowest heat dryer setting, then iron to set the color.

You'll notice this piece is more yellow-green as we unbound it as it was oxidizing.

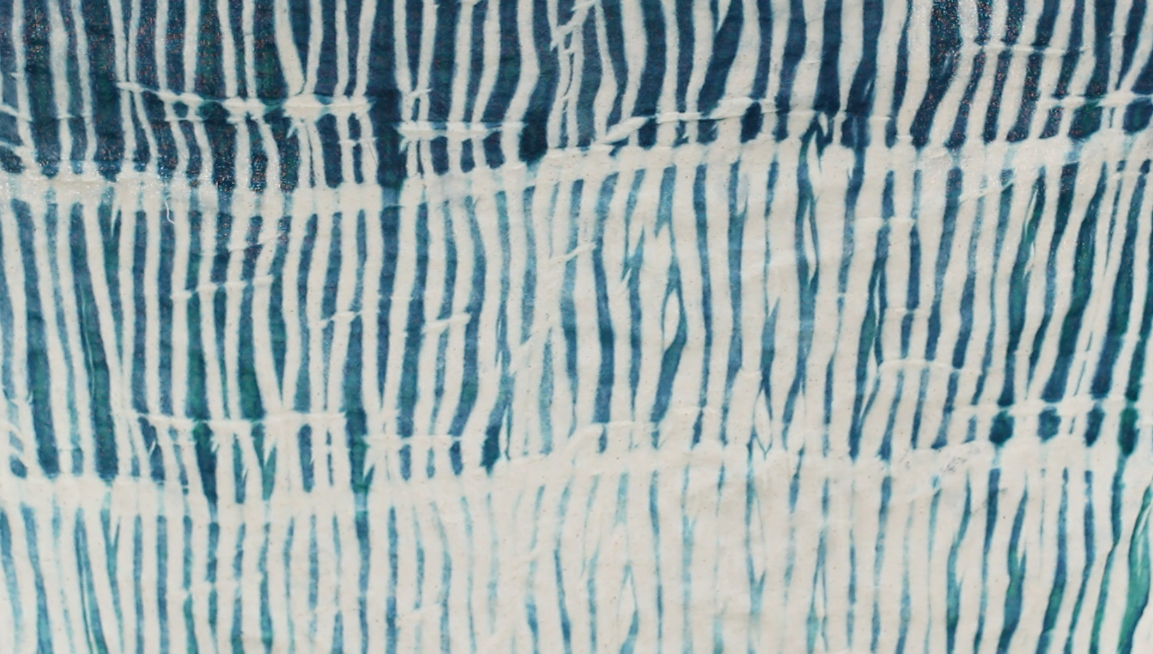
Our finished pieces.
An example of an Arashi binding (the pole-binding technique).
Have you tried Shibori? Send us photos, we'd love to see your results! If you're in the New York area, there's great shibori workshops at Hands On Studio, Buaisou and Make Workshop.
If you love Japanese textiles, see our pinterest board for more patterns and Shibori inspiration!