
Afternoon Project: DIY Natural Shibori Indigo Dyeing
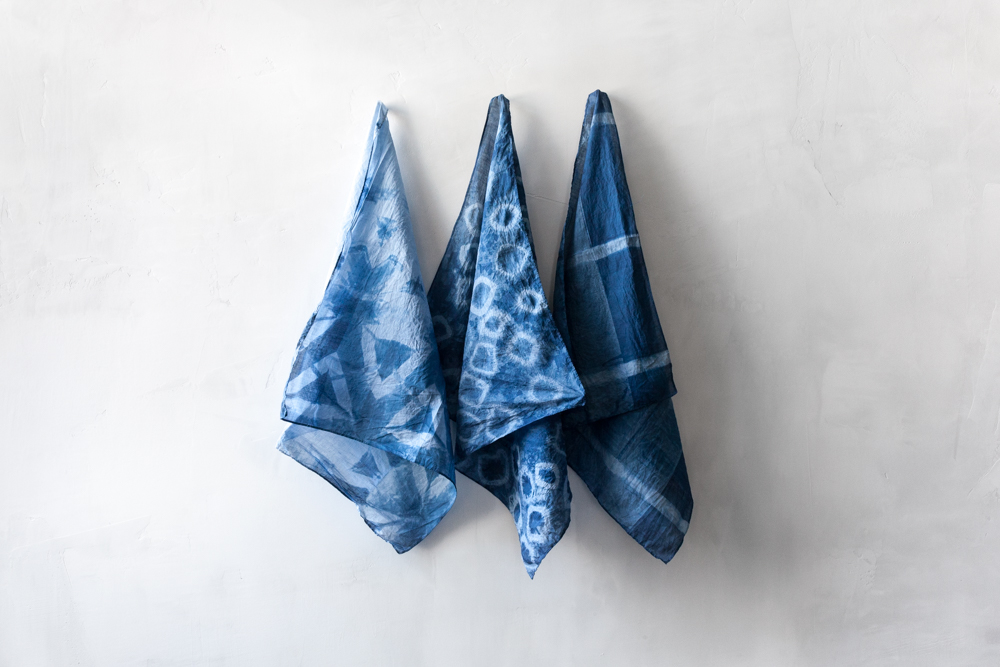
From left: Honeycomb Shibori, Ringed Shibori, Striped Shibori
Even if you’ve never heard the word before, chances are you’ve seen an example of a shibori textile at least once. With dark spiraling indigo patterns reminiscent of tie-dye, the storied Japanese dying technique is a favorite of creatives all over the world and can be found on everything from napkin sets to jeans. The word shibori comes from the Japanese shiboru, meaning “to wring, squeeze, or press”. A close ancestor to typical tie-dye, this dyeing tradition uses clamping and binding techniques with indigo dye to create beautiful white and blue patterns. While traditional tie-dye is known for its colorful patterns, shibori uses indigo dip-dye to create blue and white patterns on fabrics ranging from cotton to silk.
This type of slow indigo dyeing dates back to the 8th century when the Japanese lower class was forbidden from wearing silk and other fabrics, forcing them to get creative with accessible natural fabrics. When done well, shibori is nothing short of magical, incorporating pleats and folds to achieve a three-dimensional effect through color. With just a few rubber bands and a little creativity, you can transform a piece of regular white fabric into a kaleidoscopic masterpiece. Ahead of our June workshop with Curious Corners, we’ll show you how to dye your own shibori textiles using their Yamato Natural Blend Indigo Dye (coming soon to Rikumo).

The Yamato Dye Kit has everything you need for basic natural indigo dyeing: 10g of indigo dye, wooden sticks, rubber bands, a pair of latex gloves, and three white cotton bandanas.
You Will Need
Yamato Natural Blend Indigo Dye Kit
White base garment (can be a scarf, bandana, t-shirt, tote bag- the possibilities are endless)
Stir stick (for mixing the dye)
Clothesline and clothespins
2 medium or large buckets (one for dyeing, one for drying)
50cc of regular vinegar
Instructions (for cotton or silk):
Mix 3-5 grams of Yamato Indigo per 1 liter of water. Stir well for 1-2 minutes so that the indigo can sink in. Skim off the bubbles with the stir stick as they rise. Once it’s ready, you can start dyeing right away.
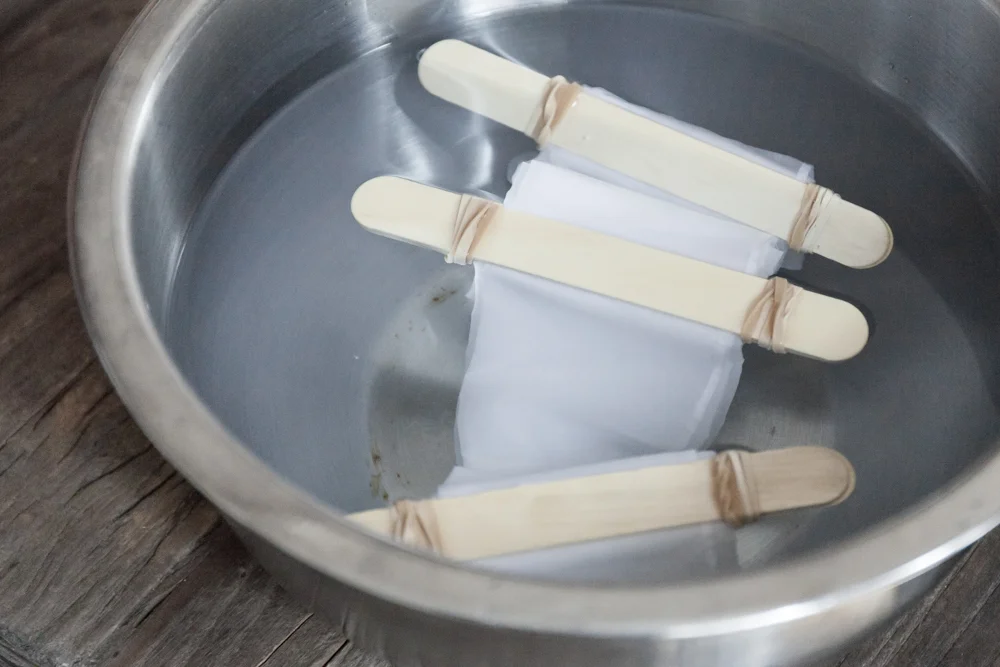
Rinse the white item you wish to dye in water, squeezing well to get rid of excess. Bind and clip the fabric into the pattern of your choice (see below steps).
Dip the fabric in the indigo vat, letting it sit for five to ten minutes. Massage fabric in the vat for best results.
Take the fabric out, squeezing out excess dye. Place in the second bucket, letting it oxidize for 5-10 minutes. For a deeper shade of indigo, repeat the dunking step up to three times.
Dunk the bound fabric in clear water.
Unbind the fabric and rinse again well until the water runs clear. This will prevent excess pigment from coming out in the wash and staining your clothes or skin later.
To seal the pigment further, mix 50cc of regular vinegar per 1 liter of water. Dip the fabric into this mixture for 10 minutes. Rinse in water again and hang dry.
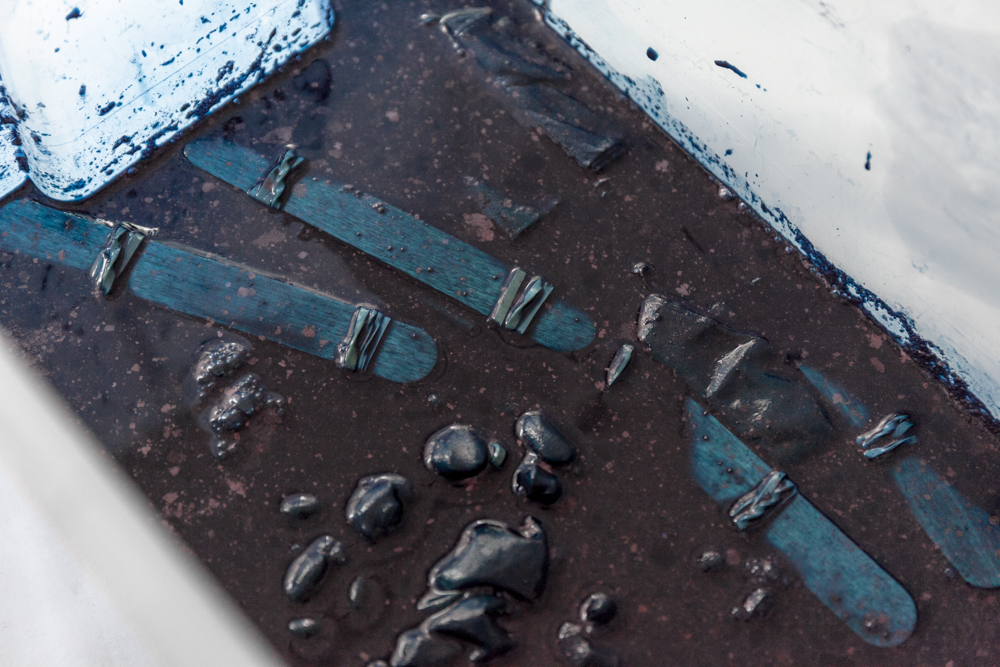
Unbind the fabric and hang dry. Don’t worry if the indigo looks slightly green- it will turn a deep blue as it oxidizes with the air.
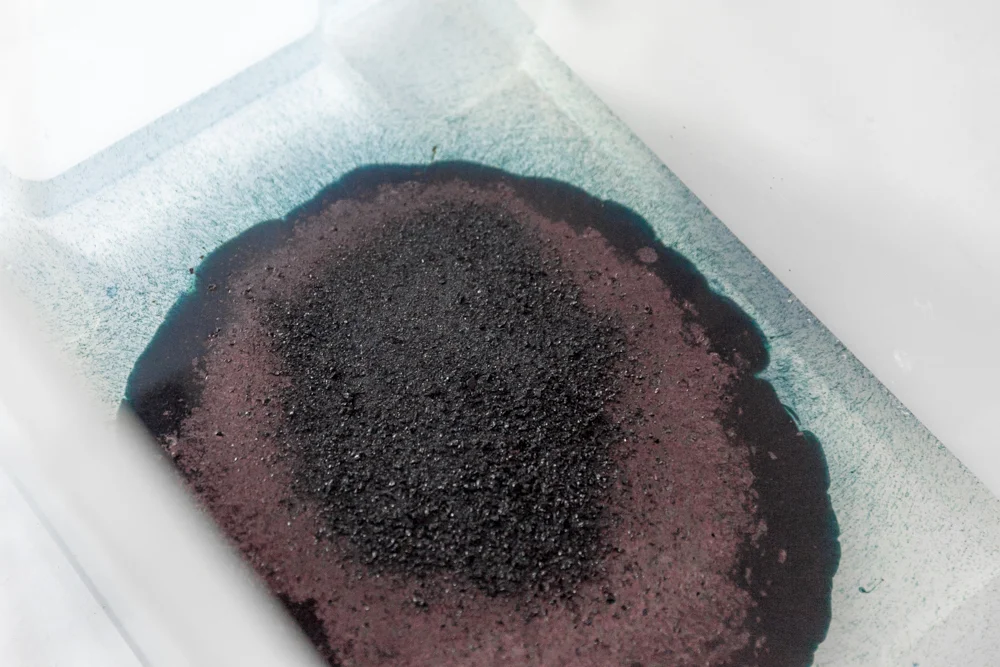
Mixing the indigo vat.
Some More Tips To Keep in Mind
Wear Gloves
Dyeing is an inherently messy project that can be quite difficult to clean up, no matter how careful you are. Protect your skin from blue blotches by wearing latex gloves as you work. Because the dyeing process can make a mess, working outside is ideal- if the weather is nice, maybe make this a backyard project. Be sure to protect the surface you end up working on by covering it with newspaper or an old tablecloth.
Take it Slow
Shibori dyeing is a time-intensive process that includes preparing the indigo dye, soaking, rinsing, drying, and folding. Make sure you set aside a couple of hours to get through everything.
Experiment
One of the great joys of shibori dyeing is the never-ending spectrum of patterns and spontaneous designs you can create. So why not go off the beaten path and experiment with haphazard twists and ties to see what happens? Unraveling the surprise results is half the fun!
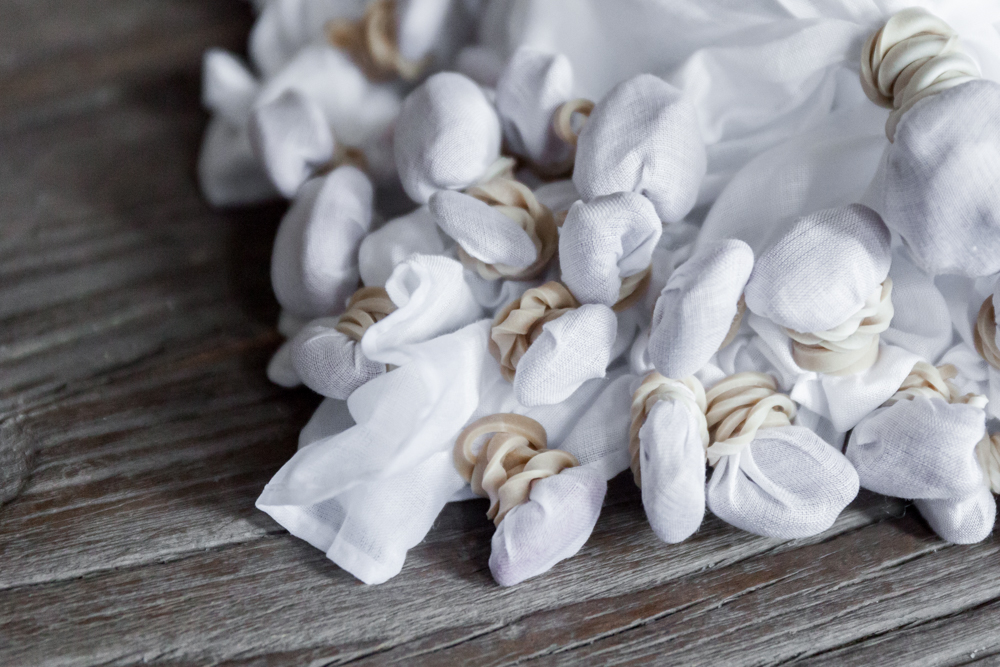
Ringed Shibori
Additional Needs: A handful of beans, additional rubber bands
Lay out the fabric flat.
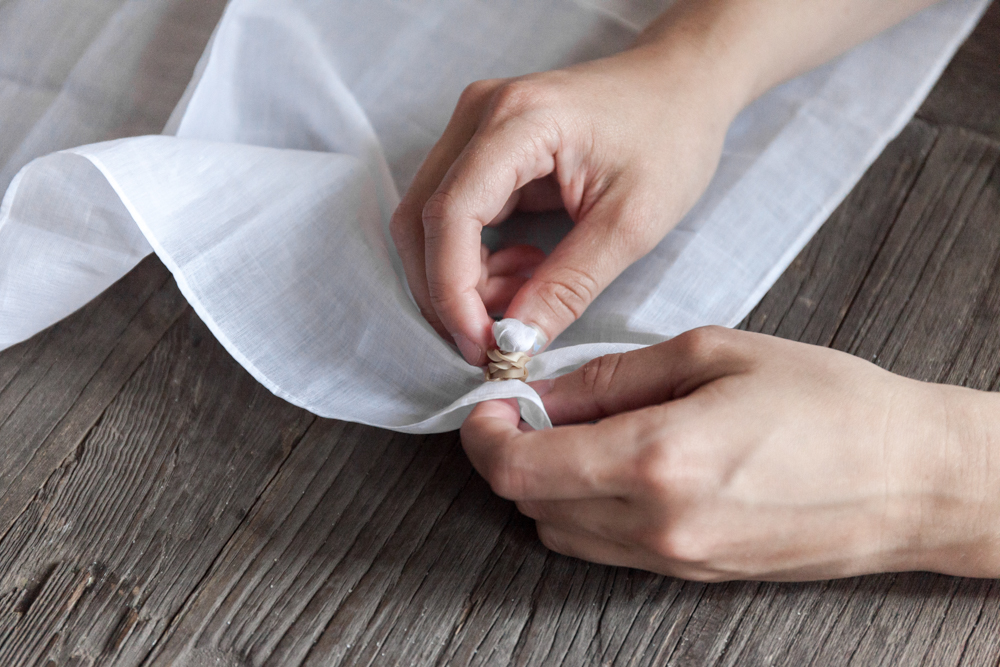
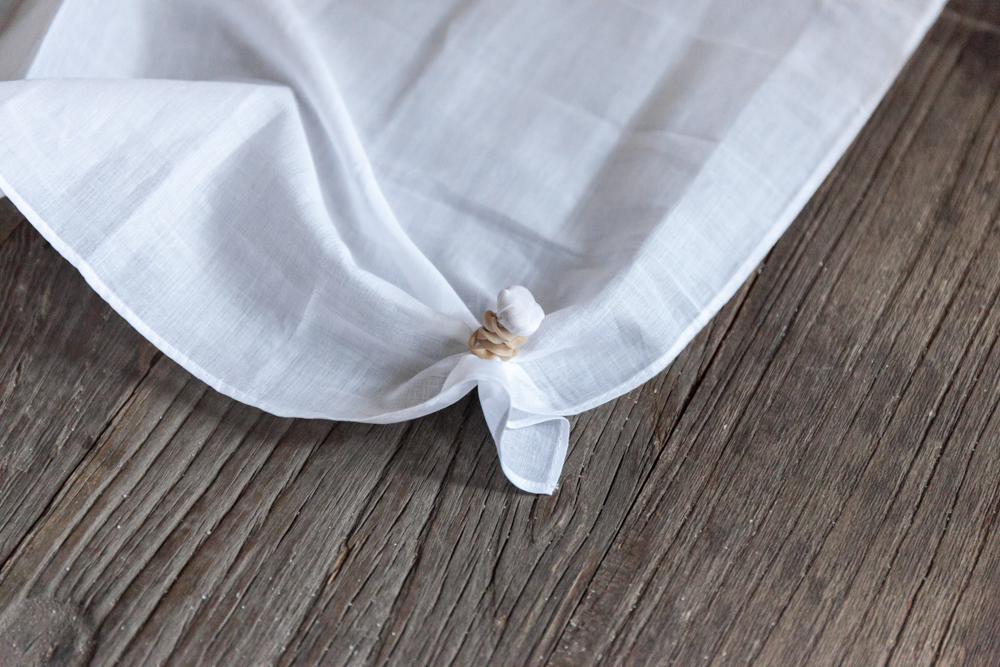
Placing a bean over the fabric, bunch up sections of fabric around each bean, tying them together with the rubber bands. You may plan the design ahead of time or bunch them up haphazardly as you go along.
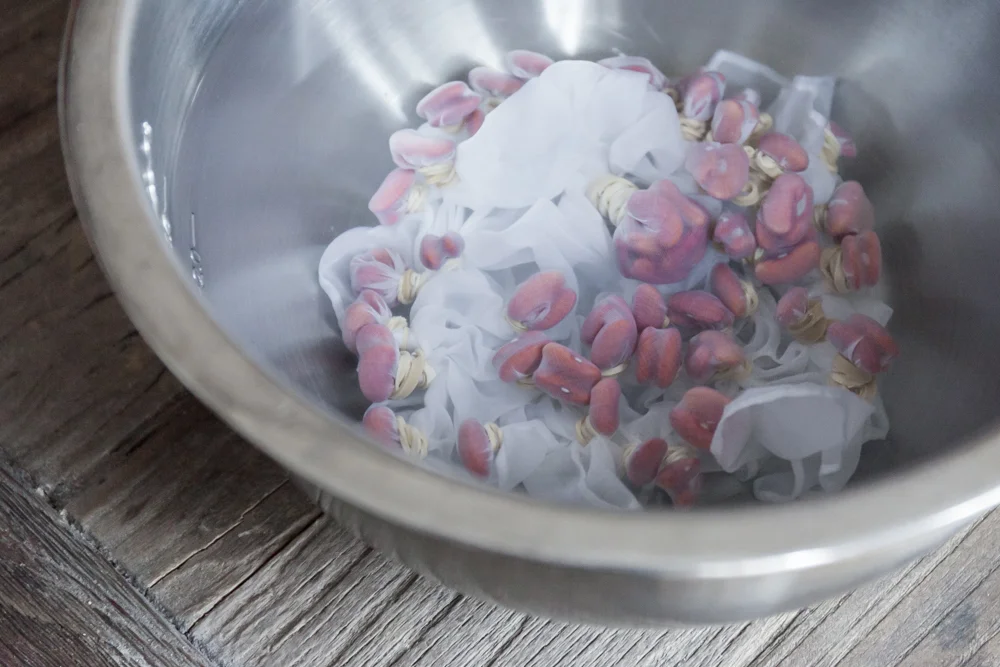
Submerge the fabric into the indigo vat, and let it sit for ten minutes. After ten minutes, take it out and leave it to dry in a second bucket for twenty minutes. Unbind the fabric and hang dry. The indigo may look green at first, but it will oxidize when it comes into contact with the air.
Dunk into the indigo vat, letting it sit for five to ten minutes. The covered areas will create small abstract white rings.


Honeycomb Shibori
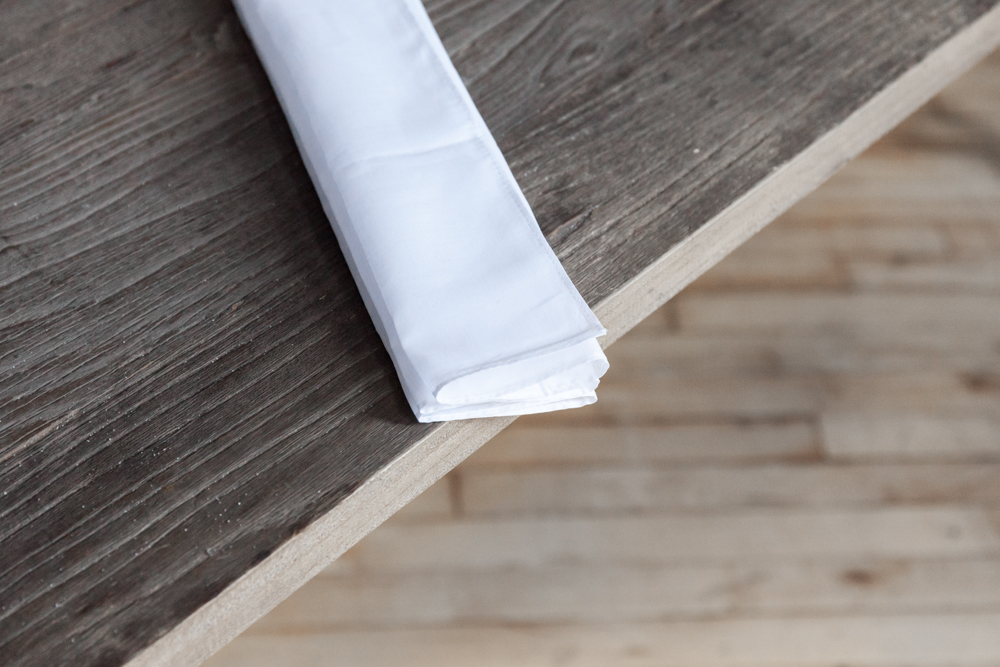
Take a rectangular piece of white fabric and fold it into sixes using a vertical accordion fold. You should be left with one long strip of folded fabric.
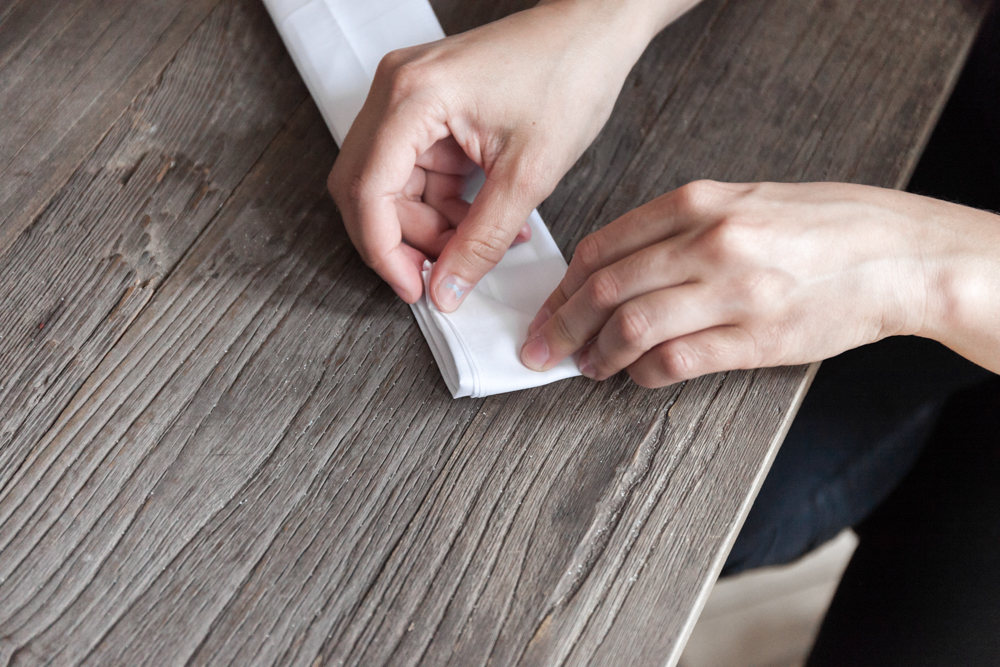
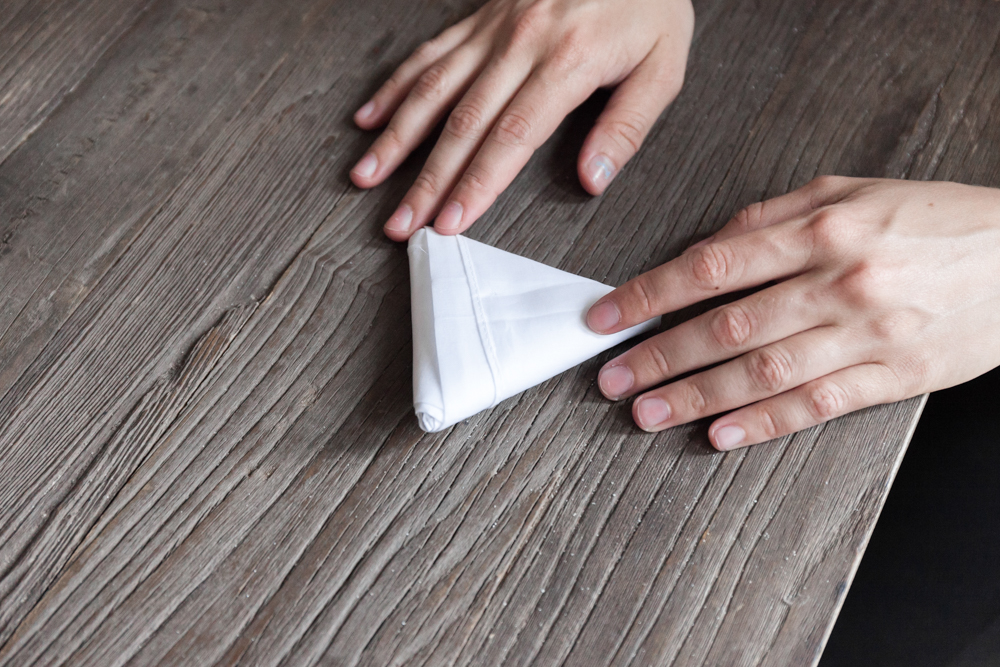
Take the left edge of the left corner and fold diagonally, making a little triangle. Continue folding diagonally towards the right edge, until you are left with a triangle.
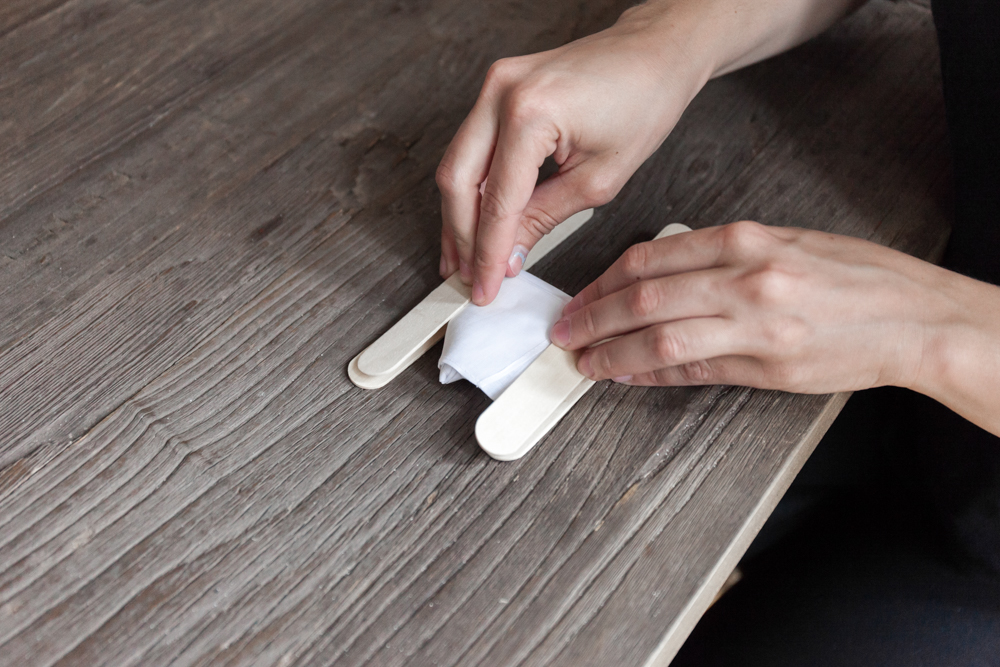
Using the wooden sticks, lay two sticks flat vertically on each of the two corners at the base of the triangle. Fasten the sticks in place with rubber bands.
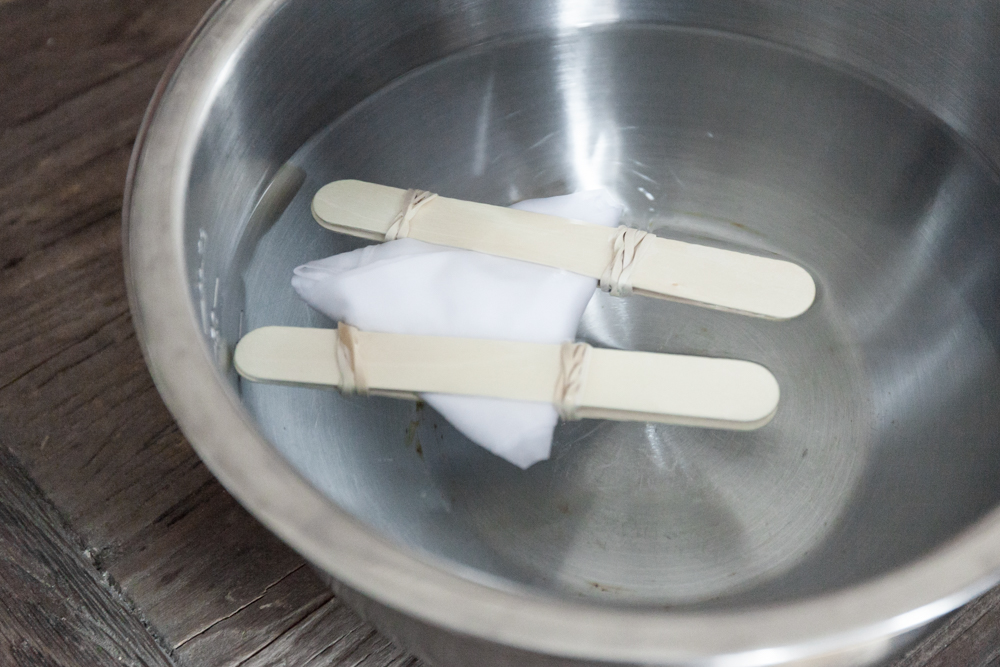
Submerge the fabric into the indigo vat, and let it sit for ten minutes. After ten minutes, take it out and leave it to dry in a second bucket for twenty minutes. Unbind the fabric and hang dry. The indigo may look green at first, but it will oxidize when it comes into contact with the air.
To seal the dye, wash the fabric again with water until the water runs clear.


Striped Shibori
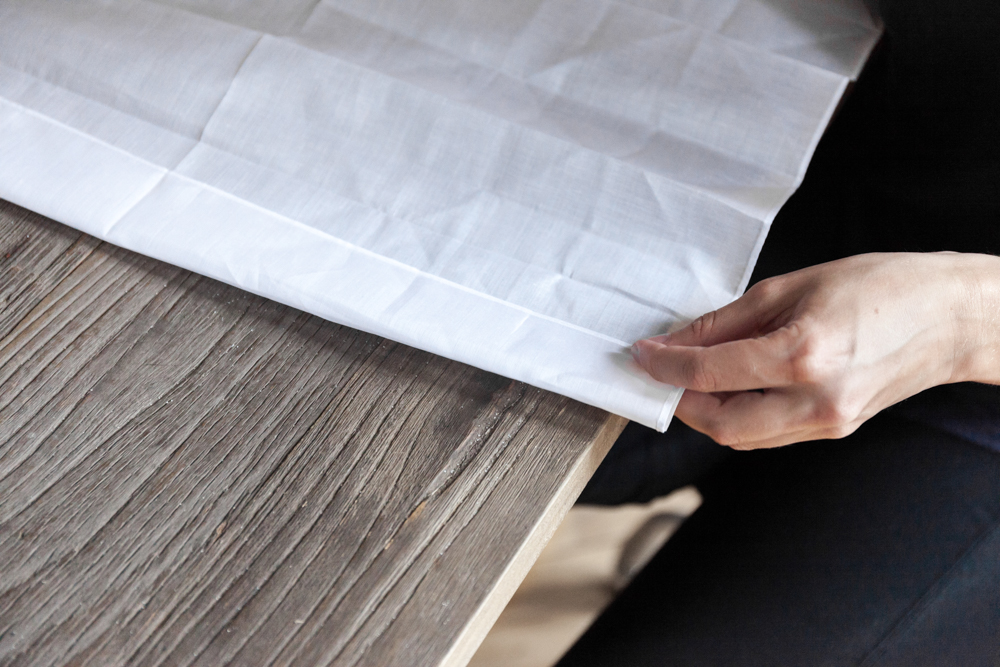
Take a rectangular piece of white fabric and fold it into sixes using a vertical accordion fold. You should be left with one long strip of folded fabric.
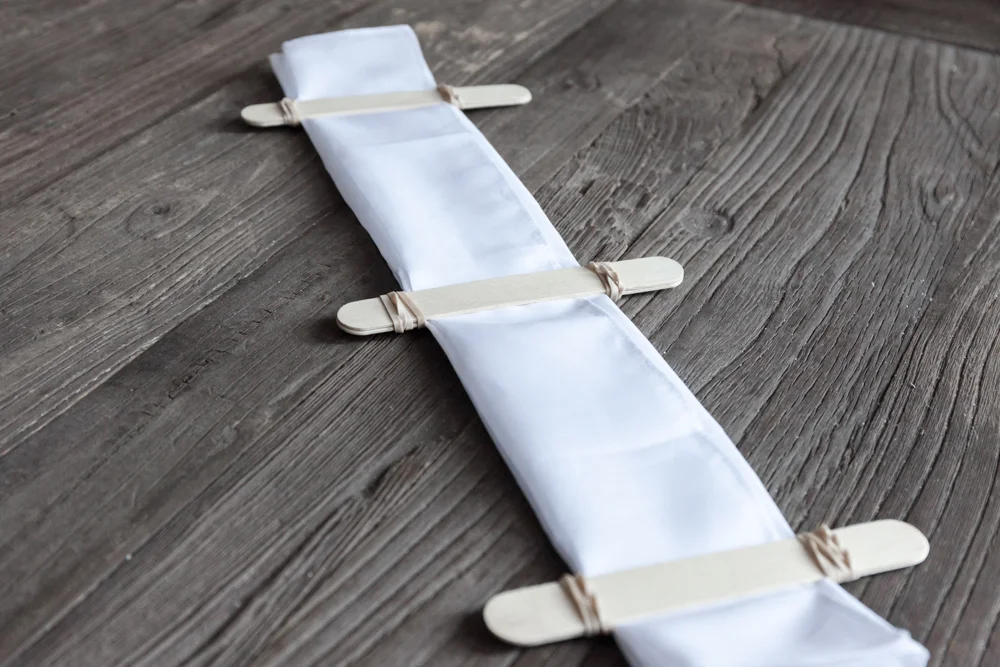
Place three sets (or more) of two wooden sticks horizontally over and under the fabric. Secure each pair of sticks together with rubber bands.
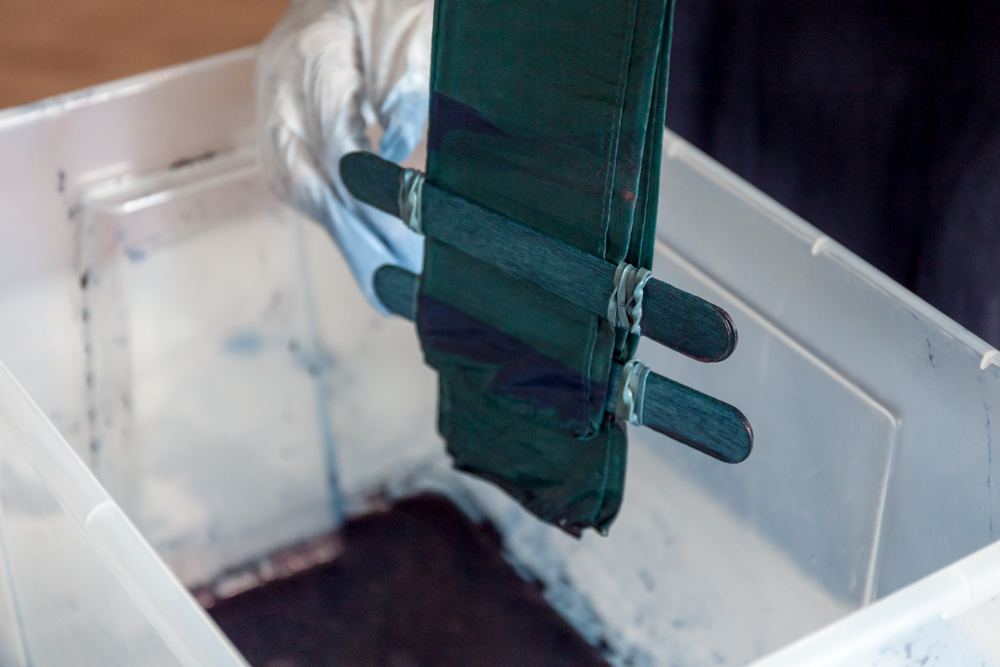
Submerge the fabric into the indigo vat, and let it sit for ten minutes. After ten minutes, take it out and leave it to dry in a second bucket for twenty minutes. Unbind the fabric and hang dry. The indigo may look green at first, but it will oxidize when it comes into contact with the air.
To seal the dye, rinse the fabric again with water until the water runs clear.
And that’s it! There are hundreds of ways to dye shibori, and its versatility is one of the things we like best about it. Experiment with these techniques or go off the beaten path with your own creations- you never know what you'll get!
WORDS BY MAGALI ROMAN